Finished Objects - FOs
- Banana Shrug - a design for Darn Good Yarn's monthly subscription box out of their Kaleidoscope Banana Fiber Yarn
- Neon April socks - my vanilla sock out of Regia yarn for the Caffeinated Knitting podcast KAL
Works in Progress - WIPs
- Chevron Cowl - Desert Vista Dyeworks Worsted It!
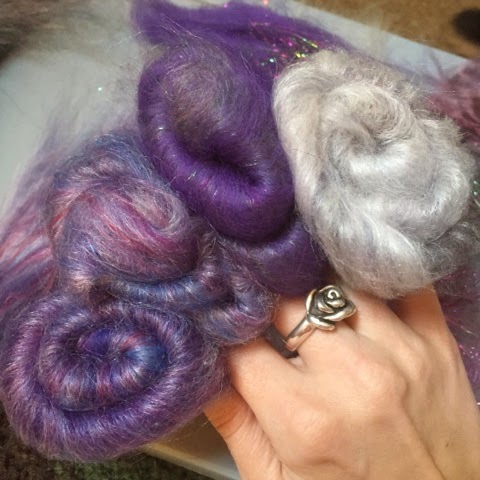
- Citron - Handspun DGY silk fibers
- Eye of the Storm - Nursing poncho, not much progress
- Beaded Silk lace weight from DGY half pi shawl design
Spinning
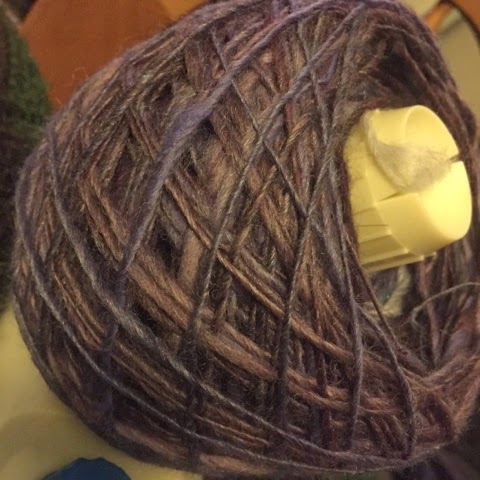
- Countess Ablaze - Zombie Princess colorway - worsted navajo ply
- inspired to spin by Owlaboutyarn on Instagram who also just started podcasting on YouTube under Owl about yarn
- Mielke's Fiber Arts - Inspiration Jar in Royals colorway
Designing
- This weekend in Chicago is YarnCon where FiberAddiction is vending with my Handspun Sampler Cowl in a Fierce Fiber kit
- The pattern is also available for FREE on Ravelry
- There is a spinning tutorial in a previous blog post
Acquisitions
- Spin this Box
- TreLiz - Double Sky special order
Chikwithyarn has opened her Etsy shop and offered us a coupon code for 10% off, you have to listen to the video to find out what the code is!